Windows Installation Document
Instructions
Here is how to install the 2X client. These instructions are for the supported version of the client that is available from our downloads.phunky.com website. If you are trying to install a different version, your choices may vary slightly but in most cases the instructions here will tell you what you need to know.
Worry not....it looks like a lot of steps but most of these you just click through. It's really simple.
1.) If you have not already done so, download the client here.
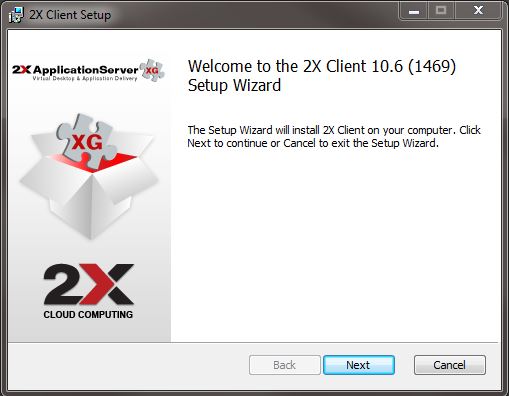
2.) Run the installer. Click 'Next'.
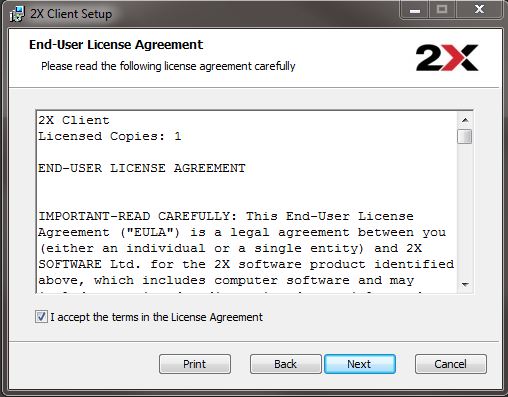
3.) Accept the EULA. Click 'Next'.
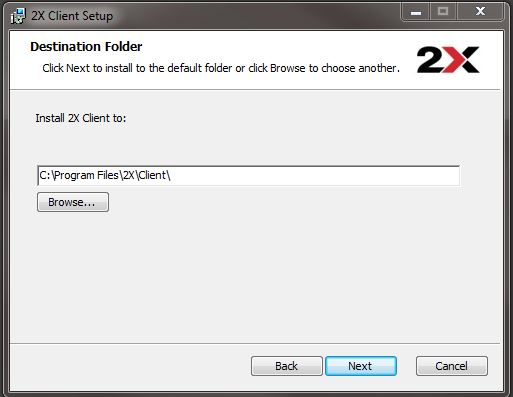
4.) Accept the default destination folder and click next.
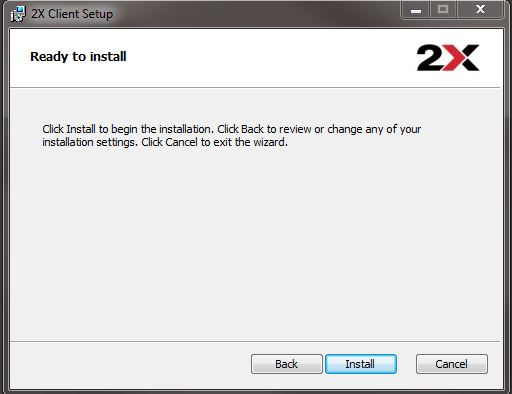
5.) Click Next
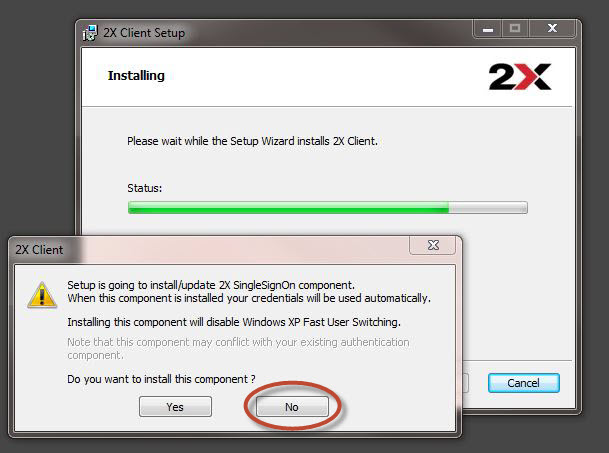
6.) VERY IMPORTANT!! If you are presented with this question, answer NO. Click 'next'.
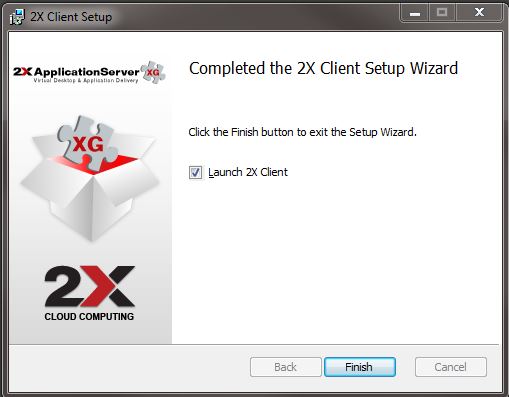
7.) Click 'Finish'. This completes the install. Next we configure your client.
Client Configuration
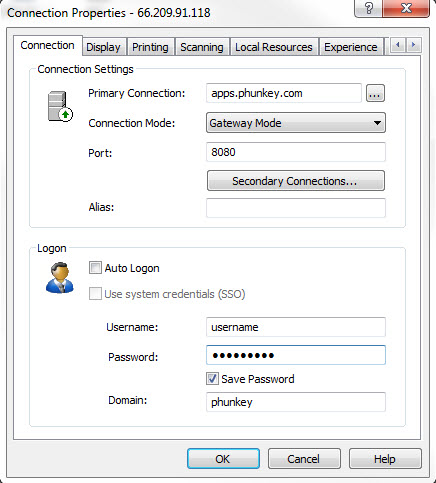
1.) Fill out the fields as shown.
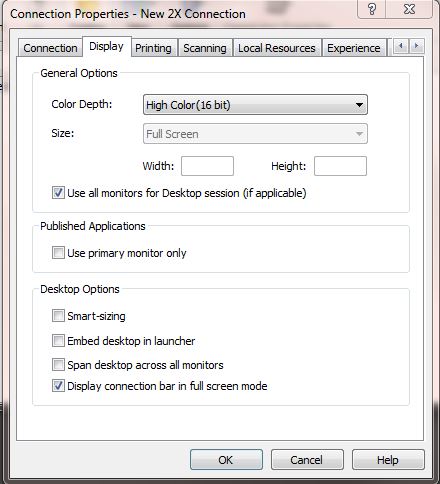
2.) Set the display options as shown below.
3.) Set the printing options as shown. You list of printers will vary according to what you have installed on your computer.

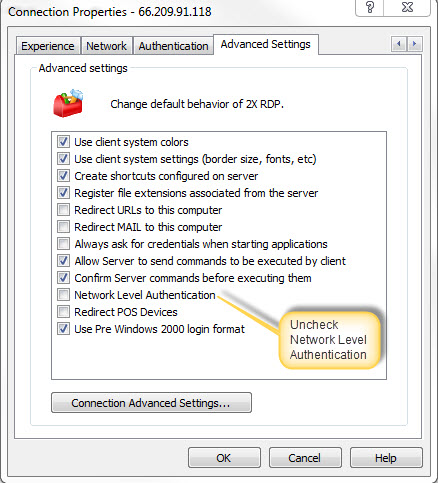
4.) Open the 'Advanced Settings' (you will have to use the navigation arrow to find it). In advanced settings, make sure 'Network Level Authentication'
is unchecked.

5.) That's it! These are the basic setup steps to configure the client.. If you have problems running 2X please contact support and they will guide you through any changes that may need to be made.
You may now open the 2X client and launch the application you wish to run.